Installing Security Cameras at Home: A Detailed Step-by-Step Process

With technological advancements, monitoring your property through security cameras has become more accessible and effective than ever before. Whether you're looking to deter potential intruders, keep an eye on your children and pets, or have peace of mind, setting up security cameras is a proactive measure that every homeowner should consider.
In this blog, we guide you through the process of home surveillance camera installation, covering everything from essential tools to final adjustments.
What Will You Need?
Before diving into the
home security CCTV installation
process, it's crucial to gather the necessary tools and materials:
Security Cameras:
Choose high-quality cameras suitable for your specific needs, whether indoor, outdoor, wired, or wireless.
Mounting Hardware:
Includes screws, anchors, and brackets for securing the cameras to walls, ceilings, or other surfaces.
Power Source:
Depending on the camera type, you may need power adapters, batteries, or solar panels.
Smartphone or Tablet:
Essential for connecting and configuring the cameras with the accompanying mobile app.
Ladder and Drill:
This is for accessing and mounting cameras at optimal locations.
Wi-Fi Network:
Ensure a stable Wi-Fi connection for setting up wireless camera installation.
Step-By-Step Process Of Installing Security Cameras At Home
Now, let's delve into the step-by-step process of home surveillance camera installation:
Step 1: Establish a Wi-Fi Connection and Adjust the Settings
- Begin by connecting your security cameras to your Wi-Fi network per the manufacturer's instructions, ensuring a stable internet connection.
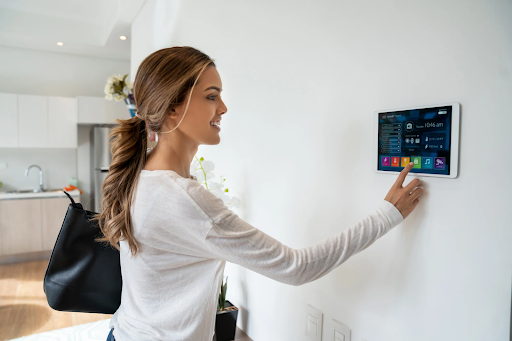
- Use the provided mobile app to access the camera's settings, which are generally accessible through a user-friendly interface.
- Within the settings, customise preferences such as motion detection sensitivity to accurately detect movement, recording modes to specify when and how footage is captured, and notification alerts to receive instant updates on activity.
- Adjusting these settings ensures optimal performance tailored to your specific surveillance needs.
Step 2: Pair Cameras with Mobile App
- Use the mobile app provided by the camera manufacturer, which is available for download on your smartphone or tablet from the respective app store.
- Follow the step-by-step instructions on the app to pair your cameras with your device seamlessly.
- This process may involve scanning QR codes provided with the cameras or entering unique identifiers to establish a secure connection between your cameras and mobile device.
- Once successfully paired, you gain remote access to your cameras, providing monitoring and control from anywhere with an internet connection, enhancing convenience and flexibility in surveillance management.
Step 3: Determine Mounting Locations
- Conduct a thorough survey of your property to identify optimal mounting locations for your security cameras. Consider factors such as property layout, potential entry points, and areas of interest requiring surveillance.
- Prioritise mounting spots covering key entry points such as doors, windows, and driveways to ensure comprehensive property monitoring.
- Evaluate visibility from each mounting location, selecting spots with clear sightlines to capture activity effectively.
- Consider the coverage angle of each camera and potential obstructions in the surrounding environment to maximise surveillance coverage and minimise blind spots, enhancing overall security effectiveness.
Step 4: Check Wi-Fi Signal Strength
- Before installing cameras, ensure that each mounting location has adequate Wi-Fi signal strength for wireless camera installations.
- Use your smartphone or tablet to conduct a connectivity test, verifying the strength of the Wi-Fi signal at each intended mounting spot.
- If signal strength is weak, consider adjusting camera placement to areas with more robust Wi-Fi coverage to prevent potential performance issues such as unreliable connectivity and video lag.
Step 5: Install Cameras
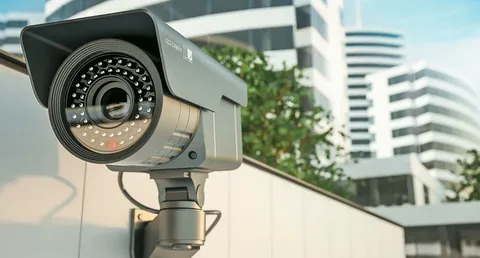
- Securely install the cameras using the provided hardware and mounting brackets, ensuring they are firmly attached to the desired surfaces.
- Use a drill and appropriate screws to fix the mounting brackets securely, ensuring stability and proper alignment of the cameras.
- Refer to the camera's manual for specific mounting instructions and recommended heights for optimal coverage and surveillance effectiveness.
Step 6: Adjust Camera Viewing Angle
- Following home security CCTV installation, adjust each camera's viewing angle to capture the desired surveillance area effectively.
- Tilt and rotate the cameras as necessary to minimise blind spots and maximise coverage of the monitored area.
- Experiment with different angles and perspectives to ensure comprehensive surveillance coverage and eliminate any potential areas of vulnerability.
Step 7: Maintain Battery-Powered Cameras
- For battery-powered cameras, ensure optimal performance by adhering to a regular maintenance schedule, which includes charging or replacing batteries as needed.
- Set reminders to recharge batteries at least twice yearly to prevent downtime and ensure uninterrupted camera operation.
- Follow the manufacturer's recommendations for battery maintenance and replacement intervals to maximise the longevity and reliability of your battery-powered surveillance cameras.
Trust the Professionals
If you still have any questions related to home security CCTV installation, then seek assistance from the experts.
At Sunshine Security, we are committed to providing top-notch security solutions tailored to meet the needs of both homes and businesses in Brisbane. With our innovative, effective, and affordable systems, you can rest assured that your property is well-protected. Whether you require CCTV camera installation or intercom systems in Brisbane, our team of experts is ready to assist you.
Contact us at 1300 022 880 today to strengthen your security!


